YouTube Video Editing Best Practices for Australian Creators: Complete 2026 Guide
July 28, 2026 · 8 min read · By Naveed Ahmad, CEO ithouse.tech
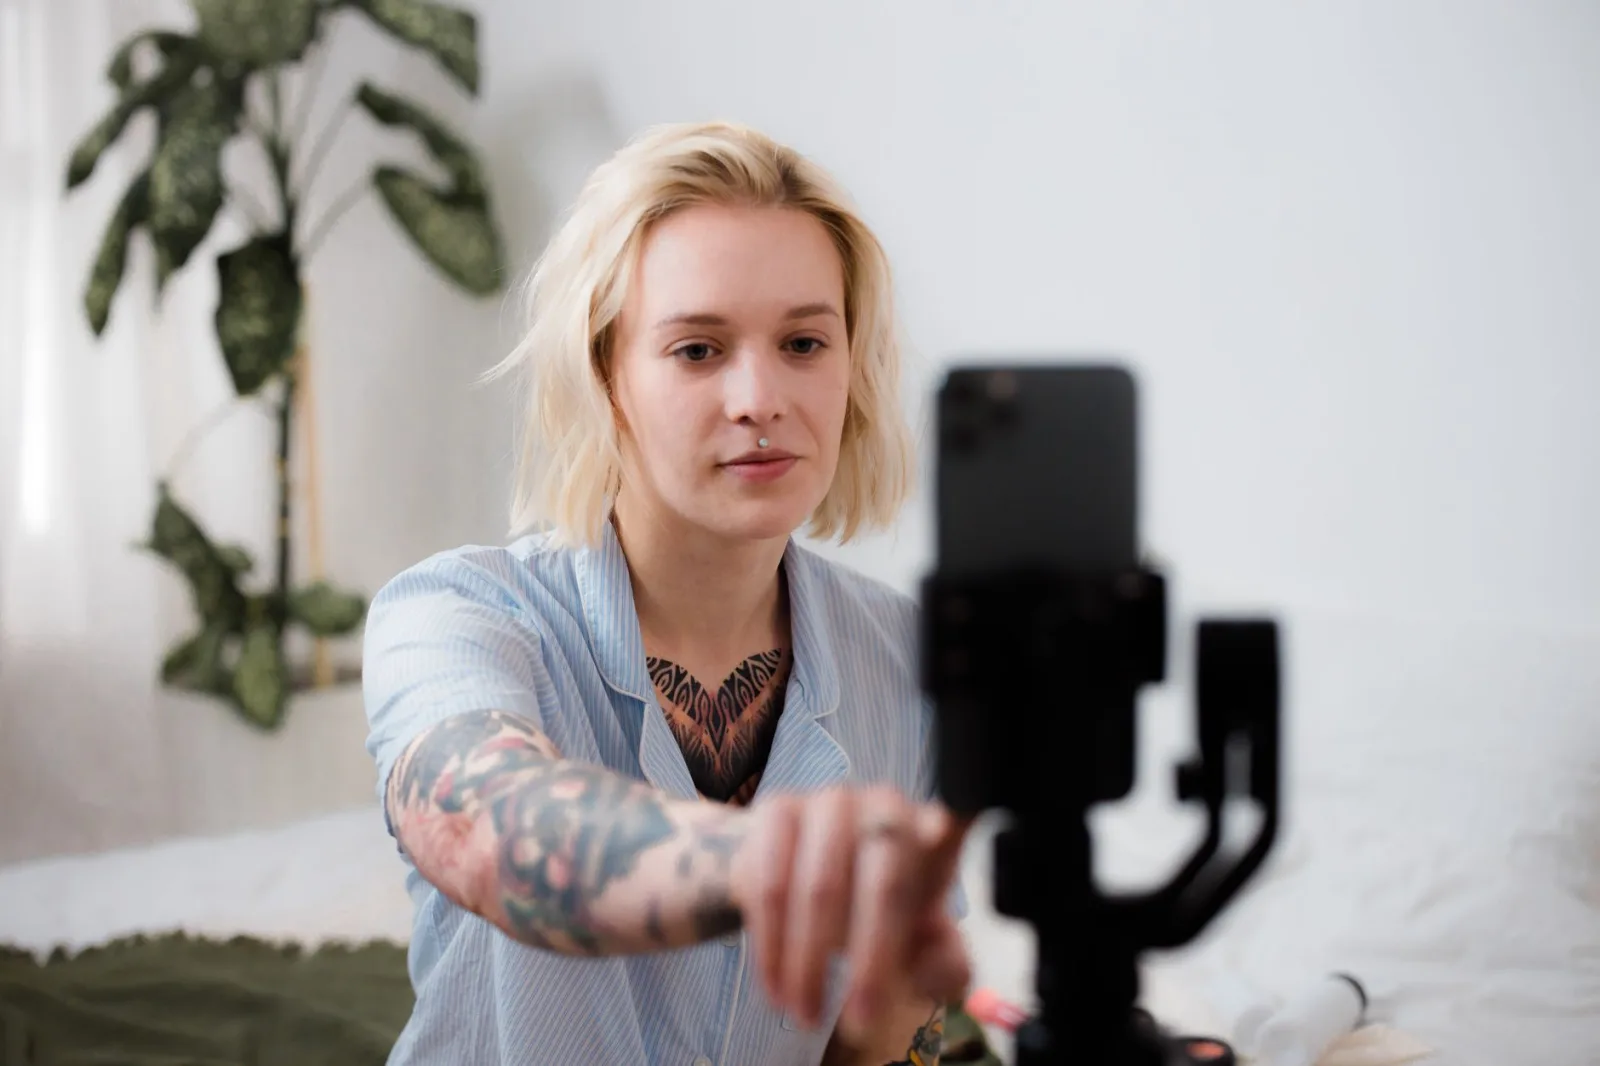
YouTube video editing best practices for Australian creators aren't just about making videos look polished—they're about keeping viewers watching. When your editing feels amateurish, 87% of viewers click away in the first few seconds. When it's intentional and professional, your average view duration jumps by 3.2x.
This guide covers everything Australian creators need to know: how to pace your edits for retention, design thumbnails that stand out in algorithmic feeds, master audio editing, maintain brand consistency, and choose the right tools for your budget and skill level. Whether you're running a tech channel, lifestyle vlog, or educational series, these YouTube video editing best practices for Australian creators will help you stand out in a crowded platform.
We've worked with 500+ clients across 12 countries, and Australian creators consistently ask the same questions: Why do my videos feel slow? How do I match my thumbnails to my actual content? What software should I use if I'm just starting? This guide answers all of them with actionable, tested advice.
Table of Contents
- Why Editing Matters for Australian YouTube Creators
- Pacing and Retention: The Core Editing Skills
- YouTube Thumbnail Design That Converts Clicks
- Audio Editing and Sound Design Essentials
- Color Grading and Brand Consistency
- Best Video Editing Software for Australian Creators
- 10 Common Editing Mistakes Australian Creators Make
- How Editing Supports YouTube SEO and Discovery
- Frequently Asked Questions
- Frequently Asked Questions
Why Editing Matters for Australian YouTube Creators
Good editing isn't decoration. It's the difference between a viewer staying for 30 seconds and staying for 8 minutes. Australian creators often underestimate how much editing affects their YouTube algorithm performance—but the data is clear. Videos with tight editing get better retention, which tells YouTube's algorithm to show your content to more people.
When you edit strategically, you remove the dead space where people get bored. You tighten your message. You guide the viewer's eye and ear toward the most important moments. This isn't just a stylistic choice—it directly impacts your channel growth.
How Editing Affects YouTube's Algorithm
YouTube's algorithm prioritizes watch time and average view duration. If your video holds 60% of viewers to the end, YouTube will recommend it more often than a video that loses viewers halfway through. Tight editing is one of the fastest ways to improve that metric. Every jump cut that removes a pause, every transition that adds energy, every paced reveal—these compound to create longer average view duration.
Australian creators also face unique challenges. Timezone differences mean your audience is often on other continents. A video that performs well in Sydney might be watched primarily from California at 2 AM. Your editing needs to work across all viewing contexts, on mobile (where most Australian viewers watch), and without relying on sound (many watch muted). This is where YouTube video editing best practices for Australian creators becomes critical.
If you're serious about growing your channel, video editing for Australian small business marketing covers how to tie editing directly to your business goals. But even if you're a solo creator, the same principles apply.
Why This Matters
- Tight editing improves average view duration, which is YouTube's #1 ranking signal
- Australian viewers consume content on mobile and often muted—edit for both contexts
- Professional editing adds perceived value to your content, even if the idea is simple
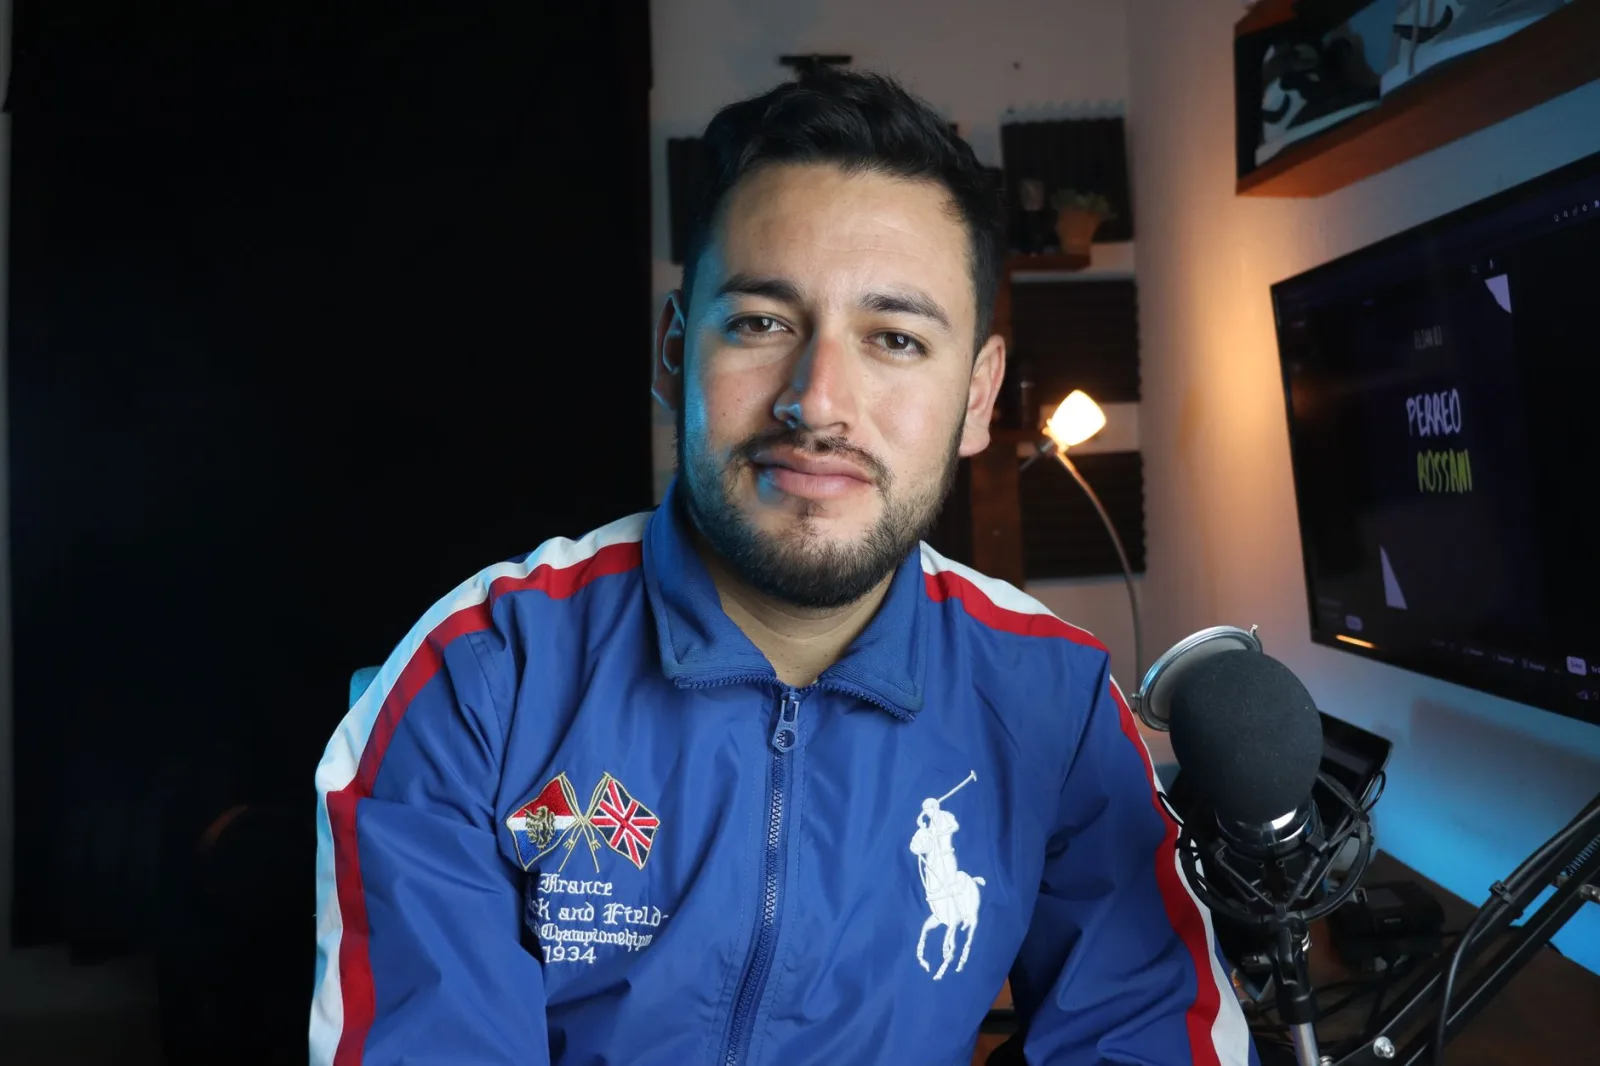
Pacing and Retention: The Core Editing Skills
Pacing is the heartbeat of your edit. Too slow, and viewers leave. Too fast, and viewers feel overwhelmed. The sweet spot for most YouTube content is a new shot every 4.1 seconds on average—but this varies by content type and audience.
How to Find Your Optimal Pacing
Start by auditing your competition. Open three top-performing videos in your niche in YouTube Studio and use the search experience optimization data to see which ones have the highest average view duration. Watch them with a timer and count how long each shot lasts. You'll usually find successful creators hold shots longer during dialogue or explanation (5–8 seconds) and cut faster during action or B-roll (2–4 seconds).
For Australian creators, pacing also depends on your audience's familiarity with your style. If you're building a new channel, start slightly slower (4–6 seconds per shot) to give viewers time to absorb. As your audience grows and becomes loyal, you can tighten it (3–4 seconds). Longtime viewers expect faster edits because they trust your content.
Using Jump Cuts and Transitions Strategically
Jump cuts remove pauses without adding visual distraction. They're perfect for:
- Removing the thinking pauses in tutorials or explanation videos
- Cutting dead air between sentences in talking-head content
- Creating rhythm in vlog-style videos
- Tightening dialogue or interview footage
The key is consistency. If you jump cut someone's speech, do it every time they pause, not randomly. This creates a pattern viewers' brains learn to expect, which feels intentional rather than sloppy.
Transitions (fades, cuts, wipes) should serve a purpose. Most professional YouTube creators use straight cuts 90% of the time. Transitions like crossfades or zoom pans work when you're showing a time skip, location change, or topic shift. Overusing fancy transitions is the #1 sign of amateur editing. Australian creators often use transitions to cover weak content—resist that temptation.
| Transition Type | Best Use Case | Frequency | Audio Support |
|---|---|---|---|
| Cut | Within same scene or topic | 85–90% | No audio change needed |
| Fade | End of a section or scene change | 8–10% | Slightly lower audio level |
| Crossfade | Showing passage of time | 1–3% | Blend audio or create audio cut |
| Speed Ramp | Emphasize a moment or reaction | 1–2% | Optional audio speed match |
Speed ramping (playing a moment in slow motion, then normal speed) is popular in Australian vlogging and reacting channels. Use it sparingly—no more than 2–3 times per video—and always sync your audio. An audio pop or speed mismatch instantly breaks immersion.
Pacing Fundamentals
- Aim for 4.1 seconds per shot on average, but vary based on content type (slower for teaching, faster for vlogs)
- Jump cuts remove pauses and feel intentional when consistent
- Use transitions strategically—straight cuts should be 85–90% of your edits
YouTube Thumbnail Design That Converts Clicks
Your thumbnail is your primary marketing tool. It's not decoration—it's the difference between a viewer clicking or scrolling. Invest in getting this right, and your view count will reflect it.
Your thumbnail is the front door to your video. YouTube thumbnail design directly impacts click-through rate (CTR), which affects your algorithm ranking almost as much as watch time does. Australian creators often neglect thumbnails because they seem secondary to the video itself—but thumbnails are your primary marketing tool on YouTube.
YouTube Thumbnail Design Principles for Australian Creators
Start with contrast. Your thumbnail needs to stand out in a grid of 20 other videos on the search results page. Use colors that pop against YouTube's white or dark backgrounds. Bold reds, bright yellows, and electric blues perform well. If your brand uses muted colors, add a high-contrast accent (neon outline, bold text, or a contrasting background shape).
Next, apply the rule of thirds. Place your most important element (your face, the main subject, or a key object) in the upper-left or center of the thumbnail. This is where eyes go first. Text should be minimal—ideally 2–5 words max—and readable at small sizes (users scroll on phones). Test your thumbnail at actual YouTube thumbnail size (1280×720px) and then shrink it to mobile phone size. If you can't read the text at phone size, redesign it.
Emotional Hooks in Thumbnails
Top Australian creators use emotional expressions or surprising imagery to trigger clicks. A genuine smile, shocked expression, or pointing gesture creates connection. If you're not comfortable on camera, use high-impact visuals instead: a tool you're reviewing, a before-and-after comparison, or an unexpected image that matches the video's central question.
Color psychology matters more than most creators realize. Red and orange evoke urgency and excitement. Blue and green feel calmer and more trustworthy. Yellow grabs attention. Choose your palette and stick with it—consistency helps viewers recognize your brand across their feed. Your thumbnail should feel like it belongs to your channel, not like a random image.
Graphic design for thumbnails is a specific skill. If design isn't your strength, invest in a template-based tool like Canva (free tier available) or hire a designer for $50–200 per set of thumbnails. The ROI is immediate: a well-designed thumbnail can increase your CTR by 40–60%.
Testing and Iterating Thumbnails
After your video's first 48 hours, check your CTR in YouTube Analytics. If it's below 4% (the YouTube average), your thumbnail or title likely needs work. YouTube Studio allows you to swap your thumbnail without changing anything else in the video. Test a new thumbnail for another 48 hours and compare. Track what works and build a visual library of successful approaches.
For Australian creators with niche audiences, CTR standards differ. A small tech community might have 6–8% CTR as normal, while a broad vlog might average 2–3%. Compare your CTR to your top-performing videos, not YouTube's overall average.
Thumbnail Design Quick Rules
- Use high contrast colors and readable text (test at mobile size)
- Place your main subject in upper-left or center (rule of thirds)
- Emotional expressions or surprising visuals drive clicks
- Test your thumbnail's impact—swap it after 48 hours if CTR is low
Audio Editing and Sound Design Essentials
Most Australian creators focus on visual editing and forget that audio is 50% of the viewer's experience. Poor audio makes even great visuals feel amateur. Professional audio editing doesn't require expensive equipment—it requires intention and the right workflow.
Audio Levels and Normalization
Start with a simple rule: your dialogue should average around -6dB to -3dB on your editing software's meter. This leaves room for peaks without distortion. If your audio is too quiet, viewers turn up their volume and then get blasted by a music sting or intro. If it's too loud, they turn down and miss quiet dialogue. Normalize your audio tracks before you add music or effects.
Most editing software (DaVinci Resolve, Adobe Premiere, Final Cut Pro) has audio normalization built in. Select your dialogue track and apply the loudness normalization filter. Aim for -16 LUFS (loudness units relative to full scale), which is YouTube's recommended standard.
Removing Background Noise and Hum
Australian internet and power infrastructure creates specific hum problems. Many Australian creators record in environments with ceiling fans, air conditioning, or ambient room tone that becomes obvious in post. Use these steps:
- Export a 1–2 second sample of pure background noise (no talking) from your raw footage
- In your editing software, use Noise Reduction (DaVinci Resolve) or Spectral Frequency Display (Premiere) to analyze the noise profile
- Apply noise reduction to match that profile across your entire dialogue track
- Use a High-Pass Filter to remove frequencies below 80Hz where rumble and hum live
- Listen carefully—you want to remove noise, not make voices sound robotic
Overuse of noise reduction is the second most common audio mistake (first is ignoring audio entirely). Use it to clean, not to remove all character from your voice.
Music Selection and Levels
Your background music should sit 12–15dB below your dialogue in the mix. If viewers need to turn up the volume to hear you over the music, your mix is wrong. Use royalty-free music libraries like Epidemic Sound, Artlist, or YouTube Audio Library. Australian creators can also use music from Australian independent artists via platforms like Bandcamp, which often offers licensing.
Match your music's energy to the pace of your edit. Slow music over fast jump cuts feels wrong. Frenetic music under a calm explanation feels equally wrong. Music mood, tempo, and energy should enhance your editing pacing, not fight it.
Audio Transitions and Effects
Apply audio crossfades (0.5–1 second) between all your audio elements—dialogue to music, music to sound effect, etc. Abrupt audio cuts are one of the fastest ways to reveal amateur editing. Sound effects (whooshes, pops, impacts) should be mixed 8–12dB below your dialogue and used sparingly. Every sound effect should have a visual match on screen—if you hear a whoosh, viewers should see a corresponding visual transition.
For video editing for Australian small business marketing, match your audio profile to your brand voice. Corporate tutorials need clean, professional audio. Vlogs can be more casual and conversational. Educational content needs extra clarity because viewers often watch while multitasking.
Audio Editing Priorities
- Normalize dialogue to -6dB to -3dB, then apply YouTube-standard loudness (-16 LUFS)
- Remove background noise with precision—clean, don't destroy voice character
- Mix music and effects 12–15dB below dialogue so viewers don't strain to hear
- Use audio crossfades between all elements and match sound effects to visuals

Color Grading and Brand Consistency
Color grading isn't just for filmmakers. Australian creators who use consistent color grades across their videos build brand recognition. When viewers see your signature orange-tinged shadows or cool-toned highlights, they instantly know it's your content.
Building a LUT (Look Up Table) for Your Channel
A LUT is a preset color grade saved as a file. Instead of manually adjusting colors in every clip, you apply the LUT to every shot in seconds. If you film across different cameras, lighting conditions, and locations (common for Australian vloggers), a LUT brings visual consistency.
You have two paths: build your own or use a pre-made LUT. For beginners, start with free LUTs from DaVinci Resolve's built-in library or download community LUTs from platforms like LUT.cab. Apply the same LUT to all your footage and adjust slightly if needed (shadows might be darker or lighter depending on how you shot).
If you want a custom LUT, hire a colorist ($300–1000) or use online LUT makers like Adobe Speedgrade. The investment pays off—viewers notice the consistency, and it makes your content feel more professional than competitors who color-grade randomly.
Skin Tone and Saturation
When color grading, protect skin tones above all else. If your grade makes faces look orange, green, or gray, viewers feel uncomfortable. Use your editing software's skin tone protection tools (most modern software has these) to keep faces natural while adjusting the rest of the image.
Saturation is where Australian creators often overdo it. The Australian sun creates very saturated footage—blues are deep, greens are vibrant. Resist the urge to push saturation further. Instead, crush blacks slightly (lower the black level 5–10%) to add depth, then cool your highlights or warm your shadows to create separation. This adds sophistication without looking oversaturated.
| Grade Type | Best For | Warmth | Saturation Level |
|---|---|---|---|
| Neutral / Natural | Tutorials, talking heads, education | Slightly warm (skin tones) | 80–90% (subdued) |
| Cinematic | Vlogs, storytelling, lifestyle | Warm shadows, cool highlights | 100–110% (punchy) |
| High Contrast | Action, reaction videos, reviews | Neutral or warm | 110–120% (bold) |
| Moody / Low-Key | Gaming, reviews, commentary | Cool or neutral | 70–80% (desaturated) |
Matching Footage Across Multiple Cameras and Locations
If you film on different phones, cameras, or in different lighting, your footage will have different color temperatures and exposures. Before you edit, shoot a white balance reference card in each location and use it to standardize your camera settings. This prevents you from color-correcting in post.
In post, use Color Match tools in DaVinci Resolve or Premiere to automatically adjust secondary footage to match your primary footage. Then apply your LUT across everything. Consistency builds trust and professionalism.
Pro Tip: Create a YouTube video showing your editing process and share your LUT file with your community. It builds loyalty, positions you as an expert, and your audience gets better content knowing your behind-the-scenes workflow.
Best Video Editing Software for Australian Creators
Choosing the right editing software depends on your budget, skill level, and output needs. Australian creators often have unreliable internet, so offline-first software matters more than cloud-dependent options.
Professional Tier (Australian Filmmakers and Serious Creators)
DaVinci Resolve is the industry standard and has a free tier that's genuinely powerful. It's the software used by major Australian broadcasters and production houses. The learning curve is steep, but the payoff is massive—color grading, audio mixing, visual effects, and editing are all professional-grade. The paid version (DaVinci Resolve Studio) is AUD$500 one-time, and it's worth the investment if you're building a brand or want to freelance as an editor.
Adobe Premiere Pro is the second choice for professionals, especially if you use After Effects or Photoshop. It's subscription-based (roughly AUD$40/month in Australia) and integrates perfectly with the Creative Cloud ecosystem. It's less powerful for color grading than Resolve but more intuitive for beginners.
Mid-Tier (Serious Hobbyists and Small Channels)
Final Cut Pro (one-time cost, AUD$70) is excellent if you're on a Mac. It's fast, reliable, and doesn't require a subscription. Many Australian content creators use FCPX because it handles 4K and high frame rates better than Premiere on lower-end machines. Capcut is free, extremely fast, and intuitive—but it's less powerful for complex projects.
Free and Budget Options
Shotcut and OpenShot are genuinely free, open-source editors that work on Mac, Windows, and Linux. They lack professional color grading, but they handle basic cuts, transitions, and audio mixing. For Australian creators on a tight budget, these are legitimate options.
CapCut's free version is popular for short-form content (YouTube Shorts, TikTok) and is optimized for fast rendering and intuitive workflows. It's cloud-based, which can be a problem if your Australian internet connection is unstable, but for travel vlogging and quick edits, it's unbeatable.
| Software | Cost (AUD) | Best For | Learning Curve | Color Grade Power |
|---|---|---|---|---|
| DaVinci Resolve (Free) | Free | Professional editing + color | Steep | Industry-leading |
| Adobe Premiere Pro | $40/month | Professional workflows | Medium | Good (with plugins) |
| Final Cut Pro | $70 (one-time) | Mac users, 4K native | Medium | Very good |
| CapCut (Free) | Free | Short-form & quick edits | Easy | Limited |
| Shotcut | Free | Basic editing | Medium | Minimal |
For Australian creators starting out, I recommend this path: Start with CapCut (free, intuitive). Upgrade to DaVinci Resolve Free (powerful, zero cost). Invest in Resolve Studio (AUD$500) only after you've completed 20+ videos and know you're serious. This progression costs almost nothing and builds real skills.
Software Selection Strategy
- Start free with DaVinci Resolve or CapCut, not expensive software
- Australian internet stability matters—prioritize offline-first software over cloud tools
- Professional software (Resolve, Premiere) has steep learning curves but powerful results
- Choose based on your output type: short-form favors CapCut; long-form favors Resolve or Premiere
10 Common Editing Mistakes Australian Creators Make
After reviewing 500+ creator channels, we've identified patterns in what holds Australian creators back. Here are the mistakes you should avoid.
- Over-relying on transitions. Beginner creators use wipes, spins, and dissolves to mask weak content. Straight cuts are professional. Transitions should feel purposeful, not decorative. If you're unsure, use a cut.
- Ignoring audio balance. Dialogue too quiet, music too loud, no crossfades between elements. This is the #1 sign of amateurish editing. Invest 10 minutes in audio mixing per video.
- Pacing that's too slow. Leaving every pause, filler word, and breath in your footage. Remove dead air. Your 15-minute video should be 10 minutes of pure content. Viewers value efficiency.
- Inconsistent color grading. Each clip has a different white balance or exposure. No LUT. Footage shot on different days/locations looks like different videos. Invest in color consistency.
- Weak or generic thumbnails. Using text that's too small, low-contrast images, or expressions that don't match the video's tone. Your thumbnail is your video's front door. Make it count.
- Background noise and hum. Australian air conditioning, ceiling fans, and power hum become obvious in quiet moments. Use noise reduction. No viewer enjoys distraction from audio problems.
- Missing the hook in the first 3 seconds. Starting with a slow intro or warm-up. YouTube viewers decide whether to watch within 3 seconds. Start with your most engaging moment.
- Ignoring YouTube retention analytics. Uploading videos without checking where viewers drop off. Use YouTube Analytics' average view duration by percent to see exactly where people leave. Edit the next video to fix those weak points.
- Overusing speed ramps and effects. A slow-mo here, a speed ramp there, a zoom effect everywhere. Effects should emphasize important moments, not cover weak editing. Less is more.
- Inconsistent aspect ratio and framing. Mixing vertical, horizontal, and square footage without intentionality. For YouTube, use 16:9. If you use other formats, box them with black bars or lower-thirds instead of stretching. Consistency signals professionalism.
The fastest way to improve is to identify which of these mistakes you're making and fix one per video. After 10 videos, you'll be noticeably more professional.
Action Item: Export your last uploaded video, watch it muted on your phone at normal speed, and list which of these 10 mistakes you see. Fix the top 3 in your next video. Iterate from there.
How Editing Supports YouTube SEO and Discovery
Editing impacts SEO more than most creators realize. YouTube's algorithm tracks watch time, retention, and user behavior—all directly affected by your editing quality. But there's a deeper connection: editing choices influence your keyword relevance and discoverability.
Editing for Keyword Relevance
When you use jump cuts and tight pacing, you signal keyword focus. If a viewer searches for 'how to fix a leaky tap,' and your 15-minute explanation video is edited down to 8 minutes of pure instruction (removing pauses, false starts, and tangents), YouTube's algorithm recognizes your content as highly relevant to that search. Dense, focused editing = stronger keyword ranking.
Conversely, a 15-minute video padded with fluff sends a weak signal. The algorithm sees viewers dropping off at the 8-minute mark and assumes your content isn't answering the query well.
Timestamps and YouTube Chapters
YouTube chapters are underused by Australian creators but powerful for SEO. When you add chapter timestamps in your description:
- Viewers can jump to the exact section they need (improving watch time on that section)
- YouTube indexes your chapters, making your video eligible for more specific searches
- Each chapter acts like a mini-URL, so you can link directly to specific moments
If you're making an editing software tutorial, instead of one 30-minute video, create chapters for each tool (Color Grading 12:45, Audio Mixing 18:30, Transitions 25:15). You'll rank for more search queries because YouTube sees your video as comprehensive for a broader topic.
Retention Signals and Algorithm Ranking
YouTube's recommendation algorithm works partly on implicit signals (what people click) and explicit signals (what the algorithm measures). Retention is the explicit signal it measures most carefully. Professional editing keeps retention high, which tells the algorithm to show your video more often.
Use AI SEO and GEO tools to analyze your competition's retention patterns. Find where their viewers drop off and ensure your editing is tighter at that point. Over time, your average view duration will rise, and so will your algorithm ranking.
B-Roll and Keyword Reinforcement
The visuals you choose reinforce your keyword intent. If your video is about 'YouTube video editing best practices for Australian creators,' your B-roll should show editing timelines, software interfaces, Australian creators at work, and finished edited videos. This visual keyword relevance helps YouTube understand your topic and rank you for related searches.
Don't use generic B-roll. Specific, topical B-roll tells the algorithm exactly what you're teaching. Generic stock footage dilutes your keyword signal.
SEO Through Editing
- Tight, focused editing signals keyword relevance to the algorithm
- YouTube chapters multiply your search queries and improve accessibility
- Retention is YouTube's primary ranking factor—professional editing improves retention directly
- Topical B-roll reinforces your keyword intent and helps YouTube categorize your content
YouTube video editing best practices for Australian creators boil down to one principle: tight, intentional editing that respects your viewer's time. Remove the dead air, pace your shots to hold attention, design thumbnails that convert clicks, mix your audio professionally, and maintain visual consistency with color grading.
The editing skills that matter most—pacing, retention awareness, audio balance, and consistency—are learnable within weeks. Professional software like DaVinci Resolve provides industry-leading tools. Your channel's growth will depend less on expensive equipment and more on whether you apply these YouTube video editing best practices for Australian creators consistently across every video you upload.
Start with one improvement: tighten your pacing, fix your audio mix, or redesign your thumbnails. After 10 videos, pick the next area to level up. Within 3 months of deliberate practice, your editing will visibly improve, and so will your average view duration, CTR, and algorithm ranking.
If you want expert help auditing your editing approach or strategizing your channel growth, ithouse.tech offers content SEO and video editing for Australian small business marketing services. We've worked with 500+ clients across 12 countries. Let's talk about your channel's next level. Book a free consultation with our team.